Fake AVR chips: Rozdiel medzi revíziami
Zo stránky SensorWiki
Vytvorená stránka „Fake chips are quite a frequently discussed topic and so I finally got around to it. It started innocently enough, I couldn't get the T2 timer to work on one of the Ardu…“ |
dBez shrnutí editace |
||
| Riadok 3: | Riadok 3: | ||
ones was described. It's quite interesting, and it gets us pretty much down to the manufacturing level of individual chips. Each ATmega328P microprocessor is initially just one part of an 8-inch diameter silicon wafer on which the entire processor structure is gradually fabricated layer by layer. What does such a wafer look like? | ones was described. It's quite interesting, and it gets us pretty much down to the manufacturing level of individual chips. Each ATmega328P microprocessor is initially just one part of an 8-inch diameter silicon wafer on which the entire processor structure is gradually fabricated layer by layer. What does such a wafer look like? | ||
<center> | |||
[[Súbor:siliconWafer.jpg|center|600px]]<BR> | |||
ID <a href="https://www.dreamstime.com/silicon-wafers-storage-box-table-clear-room-prepared-production-semiconductor-foundry-banner-chip-image227328390">227328390</a> | <a href="https://www.dreamstime.com/photos-images/silicon-wafers.html">Silicon Wafers</a> © | |||
<a href="https://www.dreamstime.com/stononame_info">Stononame</a> | <a href="https://www.dreamstime.com/stock-photos">Dreamstime.com</a> | |||
</center> | |||
<html><center> | <!-- html><center> | ||
<IMG Src="https://farm8.staticflickr.com/7459/9928654356_f2d35021e8.jpg" Alt="[Silicon Wafer]"><BR> | <IMG Src="https://farm8.staticflickr.com/7459/9928654356_f2d35021e8.jpg" Alt="[Silicon Wafer]"><BR> | ||
<I>An 8-inch diameter silicon wafer held by Eric Weddington (Atmel) <BR> | <I>An 8-inch diameter silicon wafer held by Eric Weddington (Atmel) <BR> | ||
at Maker Faire New York in 2013. One such wafer contains approximately 1,500 ATmega328 microprocessors.<BR> | at Maker Faire New York in 2013. One such wafer contains approximately 1,500 ATmega328 microprocessors.<BR> | ||
(Foto/Source: <A HREF="https://www.evilmadscientist.com/2013/a-wafer-full-of-328s/">Lenore Edman, Evil Mad Scientist</A></I> | (Foto/Source: <A HREF="https://www.evilmadscientist.com/2013/a-wafer-full-of-328s/">Lenore Edman, Evil Mad Scientist</A></I> | ||
</center></html> | </center></html --> | ||
Usually, processors (and other chips) are not produced one at a time, but in so-called batches (lots) containing several such boards - from one to several dozen. And Atmel, after manufacturing the processors, | Usually, processors (and other chips) are not produced one at a time, but in so-called batches (lots) containing several such boards - from one to several dozen. And Atmel, after manufacturing the processors, | ||
Verzia z 08:15, 26. november 2024
Fake chips are quite a frequently discussed topic and so I finally got around to it. It started innocently enough, I couldn't get the T2 timer to work on one of the Arduino Nano CCC (Cheap Chinese Clone) boards. And neither on the other, but I could do it on the Arduino UNO. Than I started looking everywhere else but myself for the bug, and finally I came across a page where one of the ways to detect genuine Atmel (or Microchip) chips and how to detect the non-genuine ones was described. It's quite interesting, and it gets us pretty much down to the manufacturing level of individual chips. Each ATmega328P microprocessor is initially just one part of an 8-inch diameter silicon wafer on which the entire processor structure is gradually fabricated layer by layer. What does such a wafer look like?
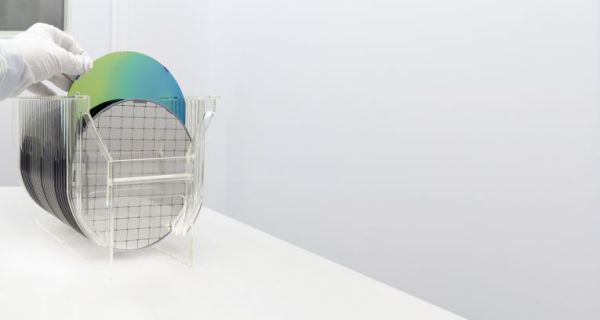
ID <a href="https://www.dreamstime.com/silicon-wafers-storage-box-table-clear-room-prepared-production-semiconductor-foundry-banner-chip-image227328390">227328390</a> | <a href="https://www.dreamstime.com/photos-images/silicon-wafers.html">Silicon Wafers</a> © <a href="https://www.dreamstime.com/stononame_info">Stononame</a> | <a href="https://www.dreamstime.com/stock-photos">Dreamstime.com</a>
Usually, processors (and other chips) are not produced one at a time, but in so-called batches (lots) containing several such boards - from one to several dozen. And Atmel, after manufacturing the processors,
tests each piece on the wafer and writes its location and wafer number into memory, so that it can be traced back to when, where and how the processor was manufactured. This gives each processor a unique production
number (signature). Counterfeit chips do not have this information. Either this is because they have not passed the test, or the production does not even dare to write down such information at all. The details of
this code are published and so it is not difficult to make a simple program that can read this code.
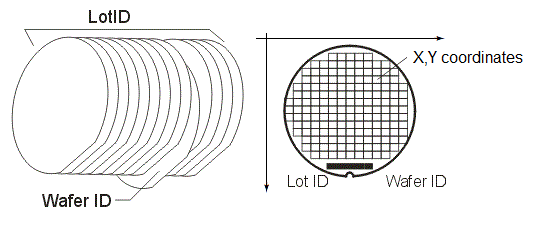
Localization of the single chip on the silicone wafer
Source: https://www.artwork.com/package/wmapconvert/manual_v2/glossary_of_terms.html
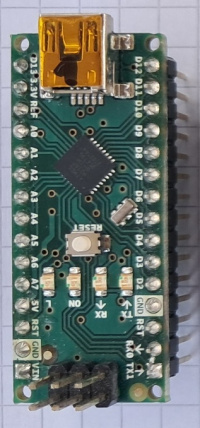
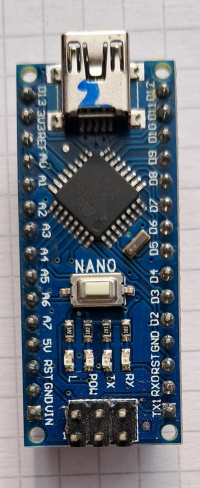
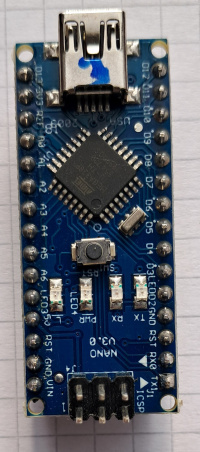
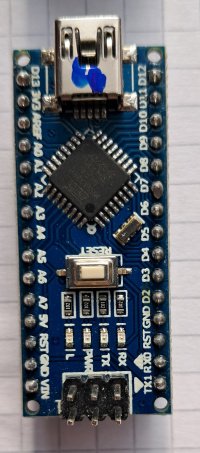
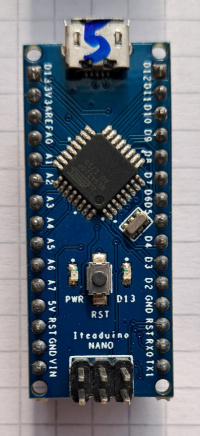
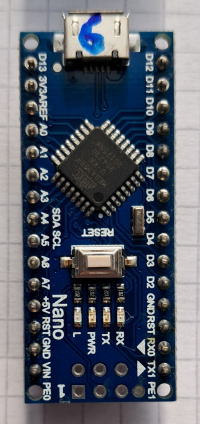
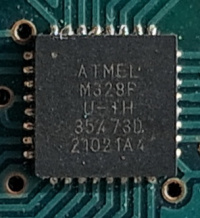
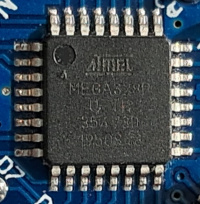
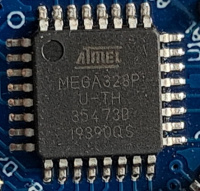
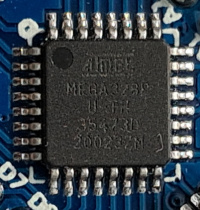
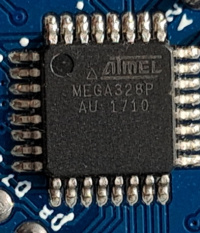
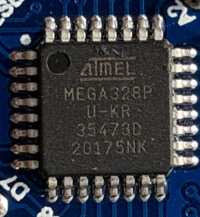
So we took a detailed look at six different boards that we had hoarded during the time. Almost all of them are some unbranded Chinese clones and we also compared them with the original Arduino Nano from
Italian manufacturer. Well, what are the results?
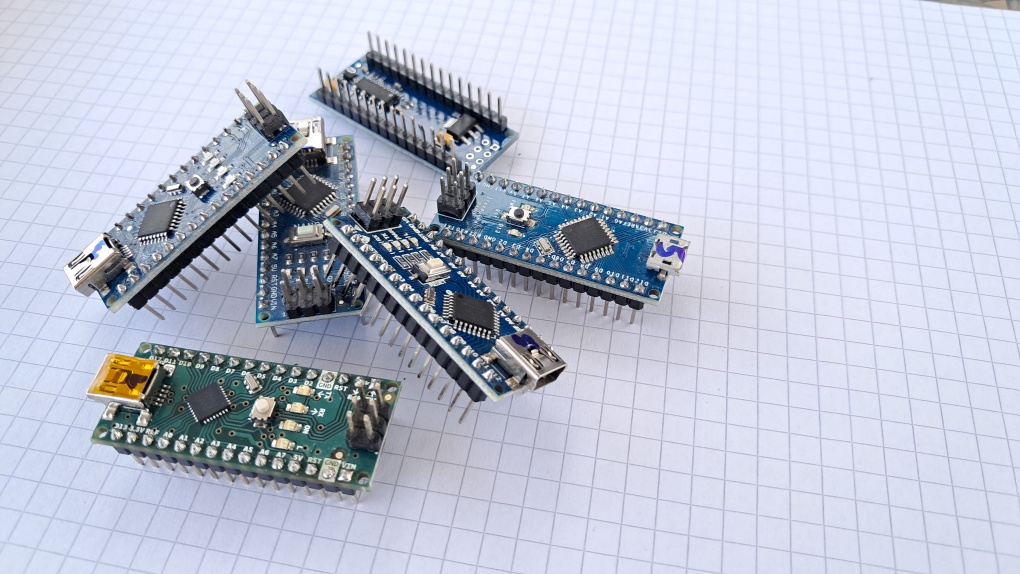
Before the tests.
You can check your own processor using the Arduino code below.
// Source code based on the https://gist.github.com/speters/f889faec42b510052a6ab4be437d38ca

// Purpose is to simply run a memory check on ATMEGA238P to test for counterfeit parts
// Usually fake chip has only FF on the last line

#include <avr/boot.h>
#define SIGRD 5

void setup()
{
  Serial.begin(9600);
  Serial.println("");
  Serial.println("boot sig dump");
  int newLineIndex = 0;
  char buffer[40];

  Serial.println("\n    00  01  02  03  04  05  06  07  08  09  0A  0B  0C  0D  0E  0F");


  sprintf(buffer, "00: ");
  Serial.print(buffer);
  for (uint8_t i = 0x00; i <= 0x0F; i += 1)
  {
   sprintf(buffer, "%02X  ",boot_signature_byte_get(i));
   Serial.print(buffer);
  }
   Serial.println();

  sprintf(buffer, "10: ");
  Serial.print(buffer);
  for (uint8_t i = 0x10; i <= 0x1F; i += 1)
  {
   sprintf(buffer, "%02X  ",boot_signature_byte_get(i));
   Serial.print(buffer);
  }
   Serial.println();
   Serial.println();


   sprintf(buffer, "Signature: %02X %02X %02X ",boot_signature_byte_get(0x00),boot_signature_byte_get(0x02),boot_signature_byte_get(0x04));
   Serial.print(buffer);

   if (boot_signature_byte_get(0x00) == 0x1E)
     if (boot_signature_byte_get(0x02) == 0x95)
        if (boot_signature_byte_get(0x04) == 0x0F)
          Serial.println(" (ATmega328P)");
        else if (boot_signature_byte_get(0x04) == 0x16)
          Serial.println(" (ATmega328PB)");
        else
          Serial.println(" (---)");
      else
          Serial.println(" (---)");
    else
          Serial.println(" (---)");


  Serial.print("           Lot: ");
  Serial.write(boot_signature_byte_get(0x0F));
  Serial.write(boot_signature_byte_get(0x0E));
  Serial.write(boot_signature_byte_get(0x11));
  Serial.write(boot_signature_byte_get(0x10));
  Serial.write(boot_signature_byte_get(0x13));
  Serial.write(boot_signature_byte_get(0x12));
  Serial.print("  Wafer: ");
  Serial.print(boot_signature_byte_get(0x15),DEC);
  Serial.print("  X: ");
  Serial.print(boot_signature_byte_get(0x17),DEC);
  Serial.print("  Y: ");
  Serial.print(boot_signature_byte_get(0x16),DEC);
  Serial.println(" (Decimal)");
  //Serial.println();

  cli();
    uint8_t lowBits      = boot_lock_fuse_bits_get(GET_LOW_FUSE_BITS);
    uint8_t highBits     = boot_lock_fuse_bits_get(GET_HIGH_FUSE_BITS);
    uint8_t extendedBits = boot_lock_fuse_bits_get(GET_EXTENDED_FUSE_BITS);
    uint8_t lockBits     = boot_lock_fuse_bits_get(GET_LOCK_BITS);
  sei();

    Serial.print("    Fuses: Low: 0x");
    Serial.print(lowBits, HEX);
    Serial.print("  High: 0x");
    Serial.print(highBits, HEX);
    Serial.print("  Ext: 0x");
    Serial.print(extendedBits, HEX);
    Serial.print("  Lock: 0x");
    Serial.println(lockBits, HEX);

}

void loop()
{ /* do nothing here */  }
This is the result for the original and genuine Arduino Nano by Arduino S.r.l. (Italy)
         00  01  02  03  04  05  06  07  08  09  0A  0B  0C  0D  0E  0F
 0x0000: 1E  A9  95  FF  0F  BA  00  26  FF  06  FF  17  FF  FF  57  30
 0x0010: 31  30  30  36  FF  0C  19  27  17  05  12  09  13  09  FF  FF

 Signature: 1E 95 0F  (ATmega328P)
            Lot: 0W0160  Wafer: 12  X: 39  Y: 25 (Decimal)
     Fuses: Low: 0xFF  High: 0xDA  Ext: 0xFD  Lock: 0xCF
This is what you don't want to see (CCC - Cheap Chinese Clone):
         00  01  02  03  04  05  06  07  08  09  0A  0B  0C  0D  0E  0F
 0x0000: 1E  AD  95  FF  0F  FF  FF  26  FF  FF  FF  FF  FF  FF  58  FF
 0x0010: EF  FF  EF  FF  FF  FF  FF  FF  FF  FF  FF  FF  FF  FF  FF  FF

 Signature: 1E 95 0F  (ATmega328P)
            Lot: ⸮X⸮⸮⸮⸮  Wafer: 255  X: 255  Y: 255 (Decimal)
     Fuses: Low: 0xFF  High: 0xDA  Ext: 0xFD  Lock: 0xCF
Here is more detailed information about the location of the above information
Device Signature Byte 1        [0x0000]     - manufacturer code

                                              0x1E      Microchip (Atmel)

Device Signature Byte 2        [0x0002]     - size of the Flash Memory

                                              0x8F                 512
                                              0x90                1024
                                              0x91                2048
                                              0x92                4096
                                              0x93                8192
                                              0x94               16384
                                              0x95               32768
                                              0x96               65536
                                              0x97              131072

Device Signature Byte 3        [0x0004]     - unique ID for given device type

                      		               Signature Bytes     Device

                                              0x1E  0x92  0x05    ATmega48
                                                1E    92    07    ATtiny44
                                                1E    93    05    ATmega8
                                                1E    93    0A    ATmega88
                                                1E    93    0B    ATtiny85
                                                1E    94    03    ATmega16
                                                1E    94    06    ATmega168
                                                1E    95    02    ATmega32
                                                1E    95    14    ATmega328
                                                1E    95    0F    ATmega328P
                                                1E    95    16    ATmega328PB (!)

RC Oscillator Calibration Byte [0x0001]   - callibration byt for the RC oscillator

Lot Number 1st Char            [0x000F]   - production lot (batch) number
Lot Number 2nd Char            [0x000E]
Lot Number 3rd Char            [0x0011]
Lot Number 4th Char            [0x0010]
Lot Number 5th Char            [0x0013]
Lot Number 6th Char            [0x0012]
Reserved                       [0x0014]
Wafer Number                   [0x0015]   - waferu number
X-coordinate                   [0x0017]   - chip location  X and Y on the wafer
Y-coordinate                   [0x0016]
Sources
- Serial number in AVR Mega devices (microchip.com)
- Chip signature ID
- Signature for ATmega328x (microchip.com)
- Complementary information about fuse bits
